How to Upload Images to Mix Book in Numerical Order
How to Load and Manipulate Images for Deep Learning in Python With PIL/Pillow
Last Updated on September 12, 2019
Before yous can develop predictive models for epitome data, y'all must learn how to load and dispense images and photographs.
The most pop and de facto standard library in Python for loading and working with image data is Pillow. Pillow is an updated version of the Python Epitome Library, or PIL, and supports a range of simple and sophisticated image manipulation functionality. Information technology is also the footing for simple image back up in other Python libraries such as SciPy and Matplotlib.
In this tutorial, yous will find how to load and manipulate prototype data using the Pillow Python library.
Later on completing this tutorial, you volition know:
- How to install the Pillow library and confirm information technology is working correctly.
- How to load images from file, convert loaded images to NumPy arrays, and salvage images in new formats.
- How to perform basic transforms to paradigm information such equally resize, flips, rotations, and cropping.
Boot-get-go your project with my new volume Deep Learning for Figurer Vision, including footstep-by-step tutorials and the Python source code files for all examples.
Allow's go started.
- Updated Sep/2019: Updated to reflect small changes to Pillow API.
Tutorial Overview
This tutorial is divided into 6 parts; they are:
- How to Install Pillow
- How to Load and Brandish Images
- How to Catechumen Images to NumPy Arrays and Back
- How to Save Images to File
- How to Resize Images
- How to Flip, Rotate, and Ingather Images
How to Install Pillow
The Python Imaging Library, or PIL for short, is an open source library for loading and manipulating images.
It was developed and made bachelor more than 25 years ago and has become a de facto standard API for working with images in Python. The library is now defunct and no longer updated and does not support Python 3.
Pillow is a PIL library that supports Python 3 and is the preferred mod library for epitome manipulation in Python. It is even required for unproblematic prototype loading and saving in other Python scientific libraries such as SciPy and Matplotlib.
The Pillow library is installed as a office of well-nigh SciPy installations; for case, if you are using Anaconda.
For assistance setting up your SciPy environment, see the step-by-step tutorial:
- How to Set up Up a Python Surroundings for Machine Learning and Deep Learning With Anaconda
If you manage the installation of Python software packages yourself for your workstation, you tin can easily install Pillow using pip; for example:
For more aid installing Pillow manually, see:
- Pillow Installation Instructions
Pillow is built on top of the older PIL and you can confirm that the library was installed correctly by printing the version number; for example:
| # cheque Pillow version number import PIL print ( 'Pillow Version:' , PIL . __version__ ) |
Running the case volition impress the version number for Pillow; your version number should exist the same or higher.
At present that your environs is gear up, allow's look at how to load an epitome.
Desire Results with Deep Learning for Computer Vision?
Accept my free 7-twenty-four hours email crash course now (with sample code).
Click to sign-up and also get a free PDF Ebook version of the class.
How to Load and Display Images
We need a test epitome to demonstrate some important features of using the Pillow library.
In this tutorial, we will apply a photo of the Sydney Opera House, taken past Ed Dunens and made bachelor on Flickr under a artistic eatables license, some rights reserved.
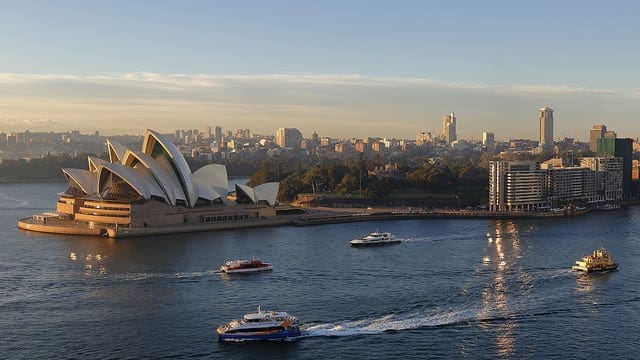
Sydney Opera House
- Download Photograph (opera_house.jpg)
Download the photo and save it in your current working directory with the file name "opera_house.jpg".
Images are typically in PNG or JPEG format and can exist loaded directly using the open() function on Image form. This returns an Image object that contains the pixel data for the epitome also as details most the image. The Image course is the master workhorse for the Pillow library and provides a ton of properties virtually the image as well as functions that allow you to manipulate the pixels and format of the image.
The 'format' holding on the image will report the epitome format (e.g. JPEG), the 'mode' will written report the pixel channel format (due east.g. RGB or CMYK), and the 'size' will report the dimensions of the epitome in pixels (east.g. 640×480).
The show() office will display the image using your operating systems default application.
The example below demonstrates how to load and evidence an image using the Image class in the Pillow library.
| # load and show an image with Pillow from PIL import Epitome # load the image paradigm = Epitome . open ( 'opera_house.jpg' ) # summarize some details nigh the prototype print ( paradigm . format ) print ( image . mode ) print ( image . size ) # testify the image prototype . show ( ) |
Running the example will get-go load the image, study the format, mode, and size, and so bear witness the image on your desktop.
The image is shown using the default image preview application for your operating system, such as Preview on MacOS.

Sydney Opera House Displayed Using the Default Paradigm Preview Application
Now that yous know how to load an image, let's await at how you lot can access the pixel information of images.
How to Convert Images to NumPy Arrays and Back
Often in automobile learning, we want to work with images as NumPy arrays of pixel data.
With Pillow installed, you tin also use the Matplotlib library to load the image and display it within a Matplotlib frame.
This can be achieved using the imread() function that loads the image an array of pixels direct and the imshow() function that will brandish an array of pixels as an image.
The case below loads and displays the same epitome using Matplotlib that, in turn, volition utilise Pillow under the covers.
| # load and brandish an epitome with Matplotlib from matplotlib import prototype from matplotlib import pyplot # load paradigm as pixel array data = paradigm . imread ( 'opera_house.jpg' ) # summarize shape of the pixel array impress ( data . dtype ) print ( data . shape ) # display the array of pixels as an image pyplot . imshow ( data ) pyplot . show ( ) |
Running the example first loads the image and so reports the data blazon of the assortment, in this instance, 8-chip unsigned integers, then reports the shape of the array, in this instance, 360 pixels broad by 640 pixels high and three channels for red, dark-green, and blue.
Finally, the paradigm is displayed using Matplotlib.
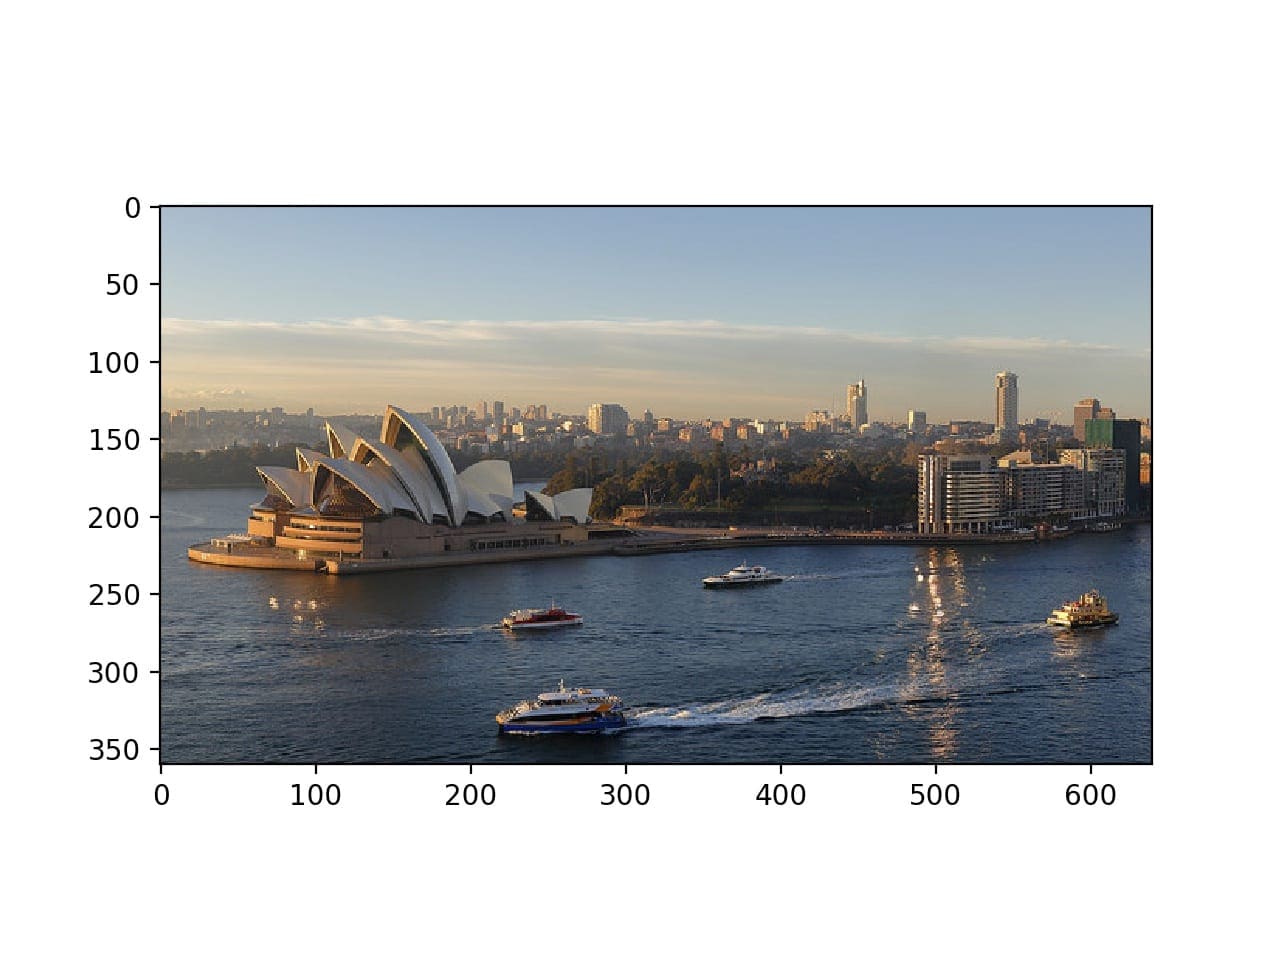
Sydney Opera House Displayed Using Matplotlib
The Matplotlib wrapper functions tin exist more effective than using Pillow directly.
Nevertheless, you can access the pixel data from a Pillow Image. Perhaps the simplest style is to construct a NumPy assortment and pass in the Epitome object. The process can be reversed converting a given array of pixel information into a Pillow Paradigm object using the Image.fromarray() function. This tin be useful if image data is manipulated as a NumPy array and you lot then want to save it later equally a PNG or JPEG file.
The example beneath loads the photo as a Pillow Paradigm object and converts it to a NumPy array, then converts it back to an Image object again.
| # load prototype and convert to and from NumPy array from PIL import Image from numpy import asarray # load the image image = Paradigm . open up ( 'opera_house.jpg' ) # catechumen paradigm to numpy array data = asarray ( prototype ) # summarize shape print ( information . shape ) # create Pillow image image2 = Image . fromarray ( information ) # summarize epitome details print ( image2 . format ) print ( image2 . mode ) print ( image2 . size ) |
Running the case first loads the photo every bit a Pillow image and then converts it to a NumPy array and reports the shape of the assortment. Finally, the array is converted back into a Pillow image and the details are reported.
| (360, 640, three) JPEG RGB (640, 360) |
Both approaches are effective for loading image data into NumPy arrays, although the Matplotlib imread() role uses fewer lines of lawmaking than loading and converting a Pillow Prototype object and may be preferred.
For example, yous could hands load all images in a directory as a list as follows:
| # load all images in a directory from os import listdir from matplotlib import image # load all images in a directory loaded_images = listing ( ) for filename in listdir ( 'images' ) : # load epitome img_data = paradigm . imread ( 'images/' + filename ) # store loaded image loaded_images . append ( img_data ) impress ( '> loaded %due south %due south' % ( filename , img_data . shape ) ) |
Now that we know how to load images as NumPy arrays, let's look at how to save images to file.
How to Save Images to File
An image object can be saved by calling the salvage() function.
This can be useful if you lot desire to save an epitome in a different format, in which case the 'format' statement tin can be specified, such equally PNG, GIF, or PEG.
For example, the code listing below loads the photograph in JPEG format and saves it in PNG format.
| # example of saving an epitome in another format from PIL import Image # load the image image = Image . open ( 'opera_house.jpg' ) # salve as PNG format paradigm . salve ( 'opera_house.png' , format = 'PNG' ) # load the epitome again and audit the format image2 = Image . open ( 'opera_house.png' ) print ( image2 . format ) |
Running the example loads the JPEG epitome, saves information technology in PNG format, then loads the newly saved prototype again, and confirms that the format is indeed PNG.
Saving images is useful if you lot perform some data preparation on the image before modeling. One example is converting color images (RGB channels) to grayscale (1 aqueduct).
At that place are a number of ways to convert an paradigm to grayscale, but Pillow provides the convert() function and the way 'L' will convert an image to grayscale.
| # instance of saving a grayscale version of a loaded prototype from PIL import Paradigm # load the prototype image = Image . open up ( 'opera_house.jpg' ) # convert the epitome to grayscale gs_image = paradigm . catechumen ( manner = 'L' ) # salve in jpeg format gs_image . salvage ( 'opera_house_grayscale.jpg' ) # load the paradigm again and show it image2 = Epitome . open ( 'opera_house_grayscale.jpg' ) # show the image image2 . show ( ) |
Running the example loads the photograph, converts it to grayscale, saves the image in a new file, and then loads it once again and shows it to confirm that the photo is now grayscale instead of colour.
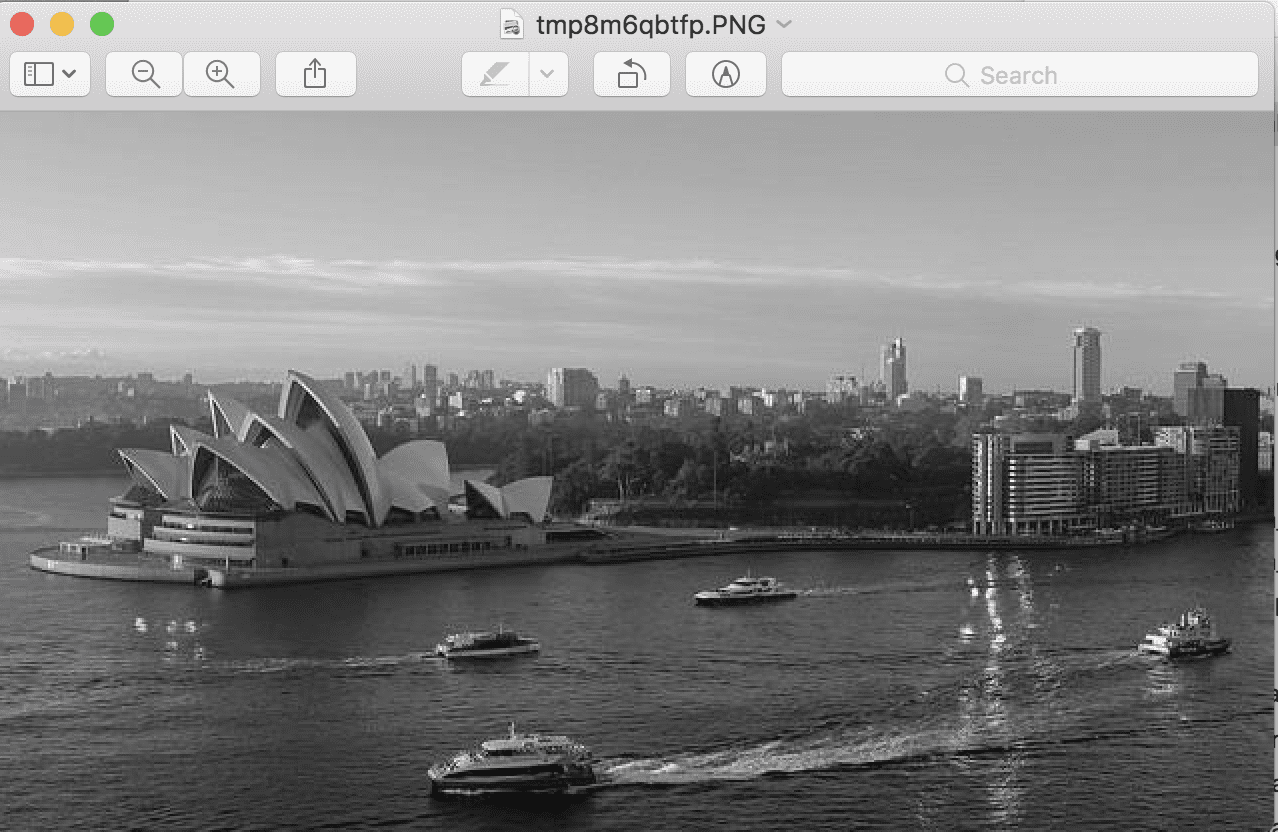
Instance of Grayscale Version of Photograph
How to Resize Images
Information technology is important to exist able to resize images before modeling.
Sometimes information technology is desirable to thumbnail all images to have the same width or acme. This can exist accomplished with Pillow using the thumbnail() part. The function takes a tuple with the width and height and the image will exist resized so that the width and tiptop of the epitome are equal or smaller than the specified shape.
For case, the exam photograph we take been working with has the width and acme of (640, 360). We can resize it to (100, 100), in which example the largest dimension, in this case, the width, will be reduced to 100, and the superlative will be scaled in guild to retain the aspect ratio of the paradigm.
The instance below will load the photograph and create a smaller thumbnail with a width and height of 100 pixels.
| # create a thumbnail of an image from PIL import Epitome # load the image image = Image . open ( 'opera_house.jpg' ) # report the size of the epitome print ( epitome . size ) # create a thumbnail and preserve aspect ratio epitome . thumbnail ( ( 100 , 100 ) ) # report the size of the thumbnail print ( image . size ) |
Running the example first loads the photograph and reports the width and height. The image is and so resized, in this instance, the width is reduced to 100 pixels and the height is reduced to 56 pixels, maintaining the aspect ratio of the original prototype.
We may not want to preserve the aspect ratio, and instead, we may want to force the pixels into a new shape.
This can exist achieved using the resize() function that allows you to specify the width and height in pixels and the image volition be reduced or stretched to fit the new shape.
The example below demonstrates how to resize a new paradigm and ignore the original attribute ratio.
| # resize image and strength a new shape from PIL import Image # load the epitome prototype = Prototype . open ( 'opera_house.jpg' ) # study the size of the image print ( epitome . size ) # resize epitome and ignore original attribute ratio img_resized = image . resize ( ( 200 , 200 ) ) # written report the size of the thumbnail impress ( img_resized . size ) |
Running the example loads the image, reports the shape of the image, then resizes it to take a width and pinnacle of 200 pixels.
The sized of the image is shown and we tin can encounter that the broad photograph has been compressed into a square, although all of the features are all the same quite visible and obvious.
Standard resampling algorithms are used to invent or remove pixels when resizing, and you tin specify a technique, although default is a bicubic resampling algorithm that suits most general applications.
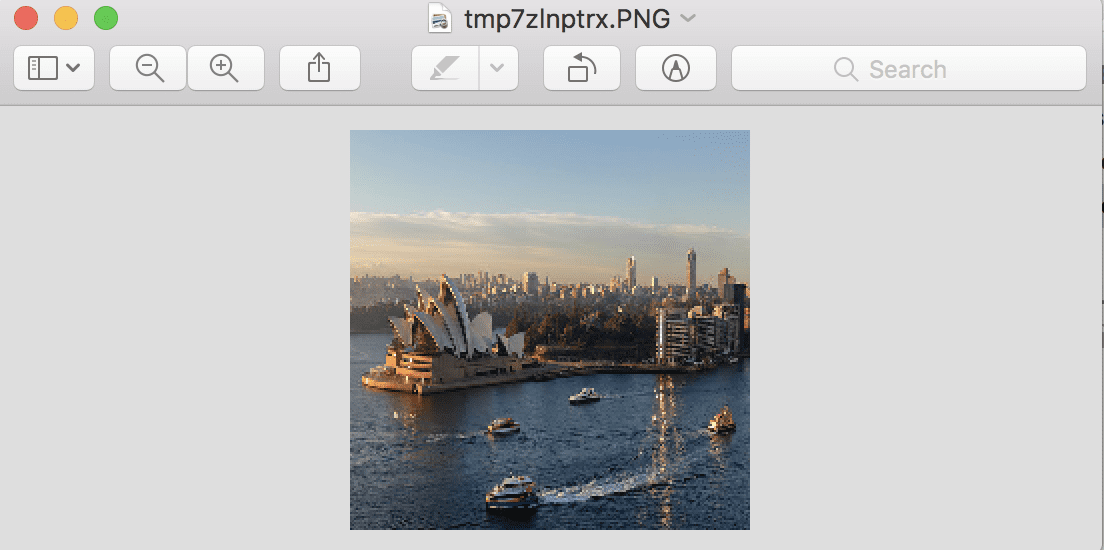
Resized Photograph That Does Not Preserve the Original Attribute Ratio
How to Flip, Rotate, and Ingather Images
Simple prototype manipulation can exist used to create new versions of images that, in turn, can provide a richer training dataset when modeling.
Generally, this is referred to as data augmentation and may involve creating flipped, rotated, cropped, or other modified versions of the original images with the hope that the algorithm will acquire to extract the same features from the image data regardless of where they might appear.
You may want to implement your ain information augmentation schemes, in which case you need to know how to perform bones manipulations of your paradigm data.
Flip Image
An image can exist flipped by calling the flip() part and passing in a method such as FLIP_LEFT_RIGHT for a horizontal flip or FLIP_TOP_BOTTOM for a vertical flip. Other flips are as well bachelor
The example below creates both horizontal and vertical flipped versions of the prototype.
| 1 2 three 4 five 6 7 8 nine 10 xi 12 thirteen 14 xv sixteen 17 | # create flipped versions of an image from PIL import Prototype from matplotlib import pyplot # load image image = Image . open ( 'opera_house.jpg' ) # horizontal flip hoz_flip = epitome . transpose ( Image . FLIP_LEFT_RIGHT ) # vertical flip ver_flip = image . transpose ( Paradigm . FLIP_TOP_BOTTOM ) # plot all 3 images using matplotlib pyplot . subplot ( 311 ) pyplot . imshow ( image ) pyplot . subplot ( 312 ) pyplot . imshow ( hoz_flip ) pyplot . subplot ( 313 ) pyplot . imshow ( ver_flip ) pyplot . testify ( ) |
Running the example loads the photograph and creates horizontal and vertical flipped versions of the photograph, and so plots all three versions as subplots using Matplotlib.
You will note that the imshow() function can plot the Image object directly without having to convert it to a NumPy assortment.
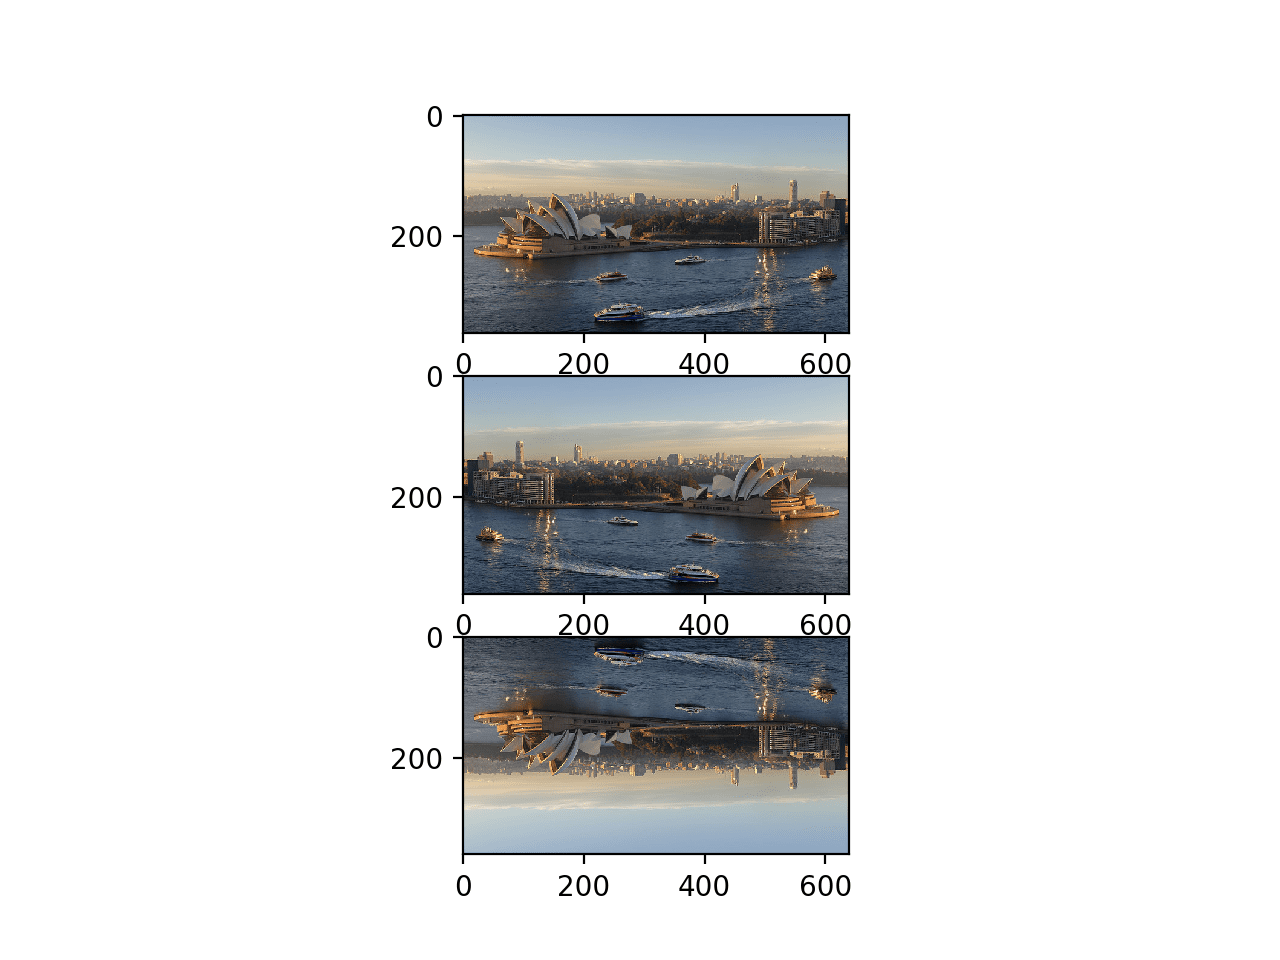
Plot of Original, Horizontal, and Vertical Flipped Versions of a Photograph
Rotate Image
An image can be rotated using the rotate() role and passing in the bending for the rotation.
The function offers additional control such as whether or not to expand the dimensions of the image to fit the rotated pixel values (default is to clip to the same size), where to heart the rotation the image (default is the middle), and the fill color for pixels exterior of the image (default is black).
The example below creates a few rotated versions of the epitome.
| # create rotated versions of an epitome from PIL import Image from matplotlib import pyplot # load image image = Image . open ( 'opera_house.jpg' ) # plot original image pyplot . subplot ( 311 ) pyplot . imshow ( image ) # rotate 45 degrees pyplot . subplot ( 312 ) pyplot . imshow ( prototype . rotate ( 45 ) ) # rotate 90 degrees pyplot . subplot ( 313 ) pyplot . imshow ( image . rotate ( 90 ) ) pyplot . show ( ) |
Running the instance plots the original photo, so a version of the photograph rotated 45 degrees, and some other rotated ninety degrees.
Y'all can see that in both rotations, the pixels are clipped to the original dimensions of the epitome and that the empty pixels are filled with black color.

Plot of Original and Rotated Version of a Photograph
Cropped Prototype
An image can exist cropped: that is, a piece can be cut out to create a new paradigm, using the crop() role.
The crop function takes a tuple statement that defines the two ten/y coordinates of the box to ingather out of the image. For case, if the image is 2,000 by 2,000 pixels, nosotros can clip out a 100 by 100 box in the centre of the prototype past defining a tuple with the top-left and bottom-right points of (950, 950, 1050, 1050).
The example below demonstrates how to create a new image as a crop from a loaded image.
| # example of cropping an epitome from PIL import Image # load epitome image = Image . open up ( 'opera_house.jpg' ) # create a cropped image cropped = epitome . crop ( ( 100 , 100 , 200 , 200 ) ) # bear witness cropped prototype cropped . show ( ) |
Running the example creates a cropped foursquare epitome of 100 pixels starting at 100,100 and extending downward and left to 200,200. The cropped square is and so displayed.
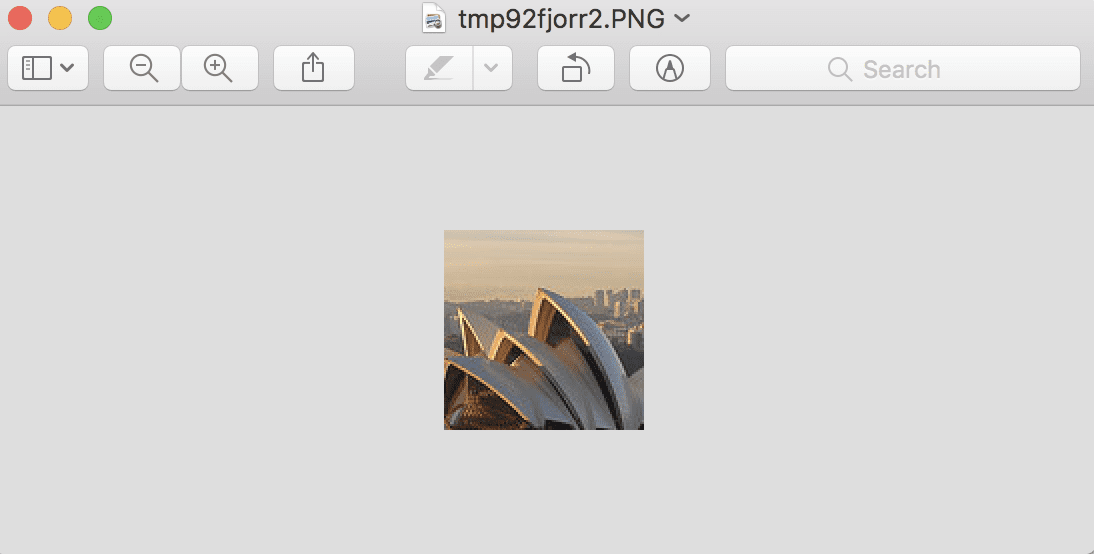
Instance of a Cropped Version of a Photograph
Extensions
This section lists some ideas for extending the tutorial that yous may wish to explore.
- Your Own Images. Experiment with Pillow functions for reading and manipulating images with your own image data.
- More Transforms. Review the Pillow API documentation and experiment with boosted epitome manipulation functions.
- Image Pre-processing. Write a function to create augmented versions of an image gear up for use with a deep learning neural network.
If you explore any of these extensions, I'd love to know.
Further Reading
This section provides more resource on the topic if y'all are looking to become deeper.
- Pillow Homepage
- Pillow Installation Instructions
- Pillow (PIL Fork) API Documentation
- Pillow Handbook Tutorial
- Pillow GitHub Project
- Python Imaging Library (PIL) Homepage
- Python Imaging Library, Wikipedia.
- Matplotlib: Image tutorial
Summary
In this tutorial, you discovered how to load and manipulate paradigm information using the Pillow Python library.
Specifically, yous learned:
- How to install the Pillow library and confirm it is working correctly.
- How to load images from file, convert loaded images to NumPy arrays, and save images in new formats.
- How to perform basic transforms to image information such as resize, flips, rotations, and cropping.
Do you have any questions?
Enquire your questions in the comments below and I will do my best to reply.
Develop Deep Learning Models for Vision Today!

Develop Your Own Vision Models in Minutes
...with just a few lines of python code
Notice how in my new Ebook:
Deep Learning for Computer Vision
It provides self-study tutorials on topics like:
classification, object detection (yolo and rcnn), face recognition (vggface and facenet), data preparation and much more...
Finally Bring Deep Learning to your Vision Projects
Skip the Academics. Just Results.
Run across What'southward Inside
Source: https://machinelearningmastery.com/how-to-load-and-manipulate-images-for-deep-learning-in-python-with-pil-pillow/
0 Response to "How to Upload Images to Mix Book in Numerical Order"
Post a Comment